For a little more of the background story of what led me to look into this, click HERE for the intro on the PCOS Diva blog.
A little over a year ago, I started reading quite a few things online (and in a few magazines) about a "poo-free" or "no-poo" movement. And no, this is not referring to fecal matter...it refers to shampoo. I read blogs and comment upon comment, only to reach the conclusion, "that sounds like you'd smell like a salad bar...no thanks!" Fast-forward a year (and four shampoo brands) later, I found myself looking...again...for a new hair cleansing and conditioning situation. After my foray into the world of homemade sugar scrubs and lotions over the past year, I decided to go back and give the whole 'poo-free thing a second read.
That second read actually turned into a LOT more information that I ever thought I would know about shampoo and conditioner (all considered information from legitimate sources, of course). It boils down to this: shampoo works by stripping away the oil that your scalp naturally produces. Unfortunately, when you strip the oil away, your scalp produces more..you know...because the oil is important to hair and scalp health. Historically, people only washed their hair once or twice a month; however, around the age of Vidal Sassoon, we were told that we needed to wash our hair every day. Of course, if you ask any hair stylist worth their salt, they will tell you that it is incredibly unhealthy to wash your hair that often.
After reading all of the information I could find, I decided to make the switch and try it for a month. After all, it's only a month! You can use this up to three or four times a week (any more than that and it could become drying, but that is going to vary for each person). Something to note: instead of apple cider vinegar, you can use lemon juice in its place. Personally, I wouldn't do that unless you have lighter hair, but that's just me. I used to use lemon juice instead of Sun-In to make my hair lighter in the warmer months--so if you have darker hair, use lemon juice at your own peril. Also, you can add some honey to the conditioner bottle if you want some extra moisturizing.
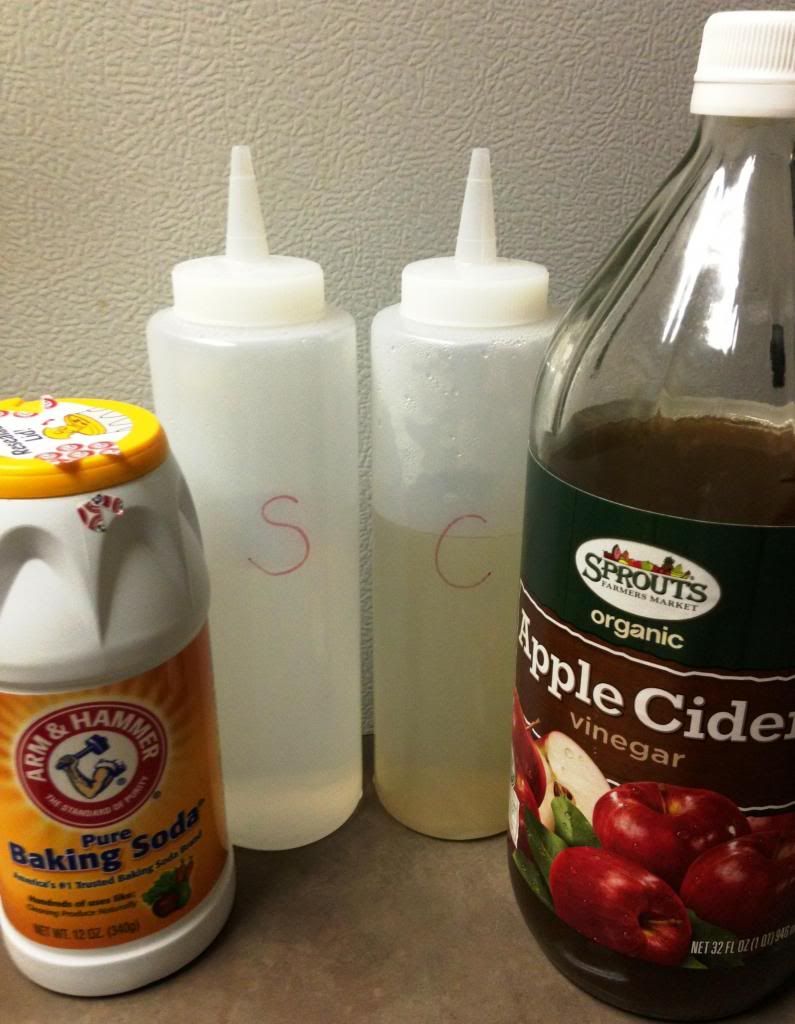
So, what do you need?
Apple cider vinegar
Baking soda
Water
2 squeeze bottles
*optional: lemon juice and/or honey*
For the "shampoo" bottle: Mix one tablespoon of baking soda per one cup of water in the squeeze bottle. For the best results, I used hot water and then shook the bottle after I put in the baking soda. This way the baking soda dissolved better instead of landing in one clump at the bottom.
For the "conditioner" bottle: Mix one tablespoon of apple cider vinegar per one cup of water in the squeeze bottle. Same thing on this one--I used hot water and mixed thoroughly. If you want to add honey, this would be the bottle in which to do so. You'll have to experiment with how much honey to use--I put in one tablespoon for the whole bottle and it seems to do well.
How much do you use? That is entirely up to you. I use about 1/8 cup of each one--but I have short hair...so it will probably be different for you! How do you do it? Squeeze the baking soda mixture on your head (I basically squeeze it until I feel a good bit running over my scalp). Rub it, just like you would shampoo, but you're going to mostly be focusing on your scalp. The weird part is getting used to making the motions of rubbing shampoo on your head while there is nothing that feels like shampoo. I leave it in a few minutes and then rinse it out. Squeeze the apple cider vinegar mixture onto your head. Apparently you are supposed to focus on the ends of your hair; however, I have short hair...so all of my hair would be considered "the ends." At this point, I use a wide-toothed comb to comb it through my hair, making sure that it's evenly distributed. Leave it on 5-10 minutes and finish up with a rinse. If you rinse it out at the end of your shower and can stand it, rinsing it with a blast of the coldest water you can stand gives you the best shine factor.
Many people have stated that over the first 2-3 weeks their scalps go on overdrive in the oil production area. I haven't noticed this at all...but again, short hair is totally different. What I have noticed is much softer and more shiny hair. Additionally, it has more natural volume and (my favorite part) has needed ZERO product in order to style it! I just comb it into whatever style, run my fingers through it, and go about my day.
Here are a few pictures of the whole "no-poo" thing in the first two weeks of the switch. I'll come back and post more as this experiment progresses! Keep in mind that we have LOTS of humidity here...so sweat is somewhat of a factor when I'm taking these pictures :-P
Here are a couple pictures after three plus weeks (I'm about to hit the one month mark, as of 4/26/2013)
Yes, thus far my hair is looking about three times thicker than it normally does!
*EDIT* Here is a picture on day 40
For some reason my most recent pictures weren't showing, so I'll post some even more recent pictures (my hair is lighter now...San Antonio sun was giving it weird brassy spots that I didn't like, so I finally just lightened it to make it even LOL!). I've now been off of shampoo for something like 19 or 20 months...I can't remember. And at this point, I only use anything other than water maybe every couple weeks. Most days I just use my fingers to rub my scalp with water and then go on about my day. It's amazing what your hair gets used to! (These were both taken within the last three weeks, as of 10/9/14)


.JPG)